Subscriptions
Subscriptions allow you to set up recurring payments for your customers. This guide will walk you through creating a basic subscription system using Vexor.
Setup
Create a project
Login to your dashboard, go to the Projects section and click on Create Project:
Make sure to select the appropiate environment for your project. If you select Production you should use the production credentials for the payment provider. Using sandbox credentials in production will cause errors. Same as the other way around, sandbox provider credentials should only be used in a project with the environment set to Sandbox.
Add credentials
Go to the project settings and choose the providers you want to use. For now, we don't need the webhook_secret, we'll show you how to use it later. For this demo, we'll use Stripe.
Where to get the credentials:
We assume you already have an account created within Stripe and that you understand how to setup and differentiate between sandbox and production configurations. If not, you can read more here.
- Go to your Stripe dashboard and select the account you want to use.
- Go to Developers > API Keys and click on API Keys.
- Copy the Publishable Key and Secret Key and paste them in the corresponding fields in the Vexor dashboard in the Project details as shown before.
As you can see in the video, we have selected Sandbox as the environment (a sandbox account). So our Vexor project will use the sandbox credentials for Stripe. If you select Production you should use the production credentials for Stripe.
Let's code
Create the app
In this example we will implement Vexor subscription in a Next.js bare project but the same logic can be applied to any other framework.
Run:
to create a new Next.js project.
Install the SDK and instantiate it
Run:
to install the SDK.
Create a file, typically named vexor.ts instantiate it as follows:
As a convention, it is recommended to place this file inside a lib folder, located inside the src folder as shown below.
Let's build a simple component for the subscription plan
Create a file named subscription-card.tsx inside a src/components folder and add the following code:
Import the component in the page and define a subscription plan
Ideally this component will be used in a page that lists all the subscription plans. For demonstration purposes, we will just define a subscription plan in the main page.tsx file.
Remove the default boilerplate code from the page.tsx file and replace it with the following code:
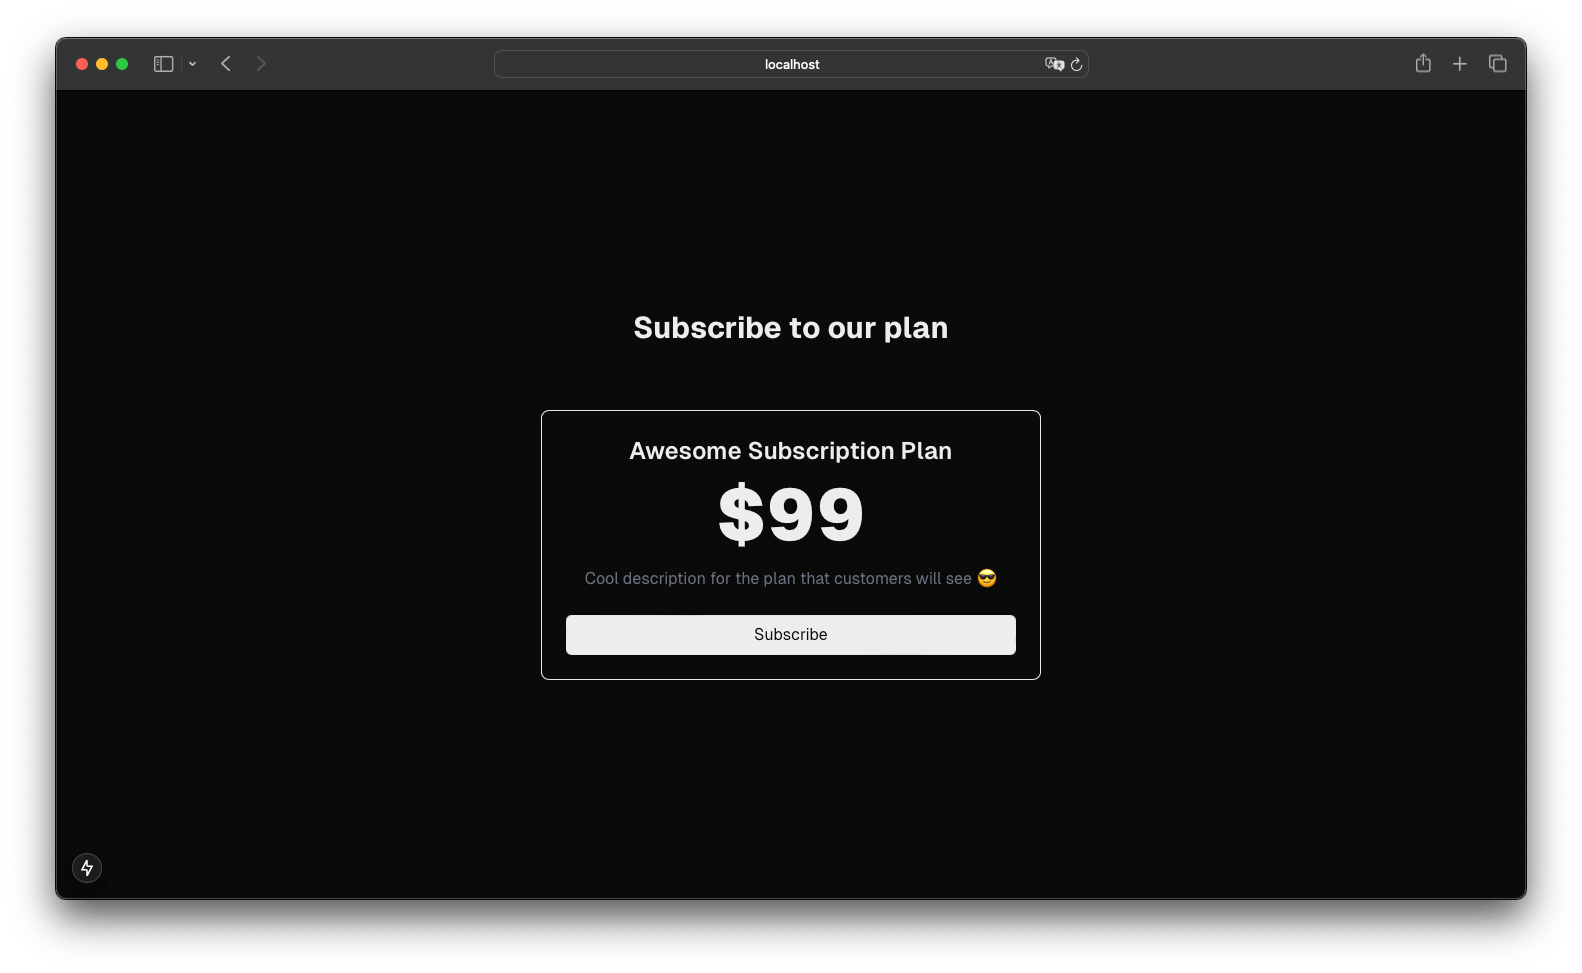
Run your app locally, you should see something like this:

Great! ✨ Now let's complete the subscription logic...
Use the Vexor SDK to create the actual subscription
In our subscription-card.tsx file, we have a handleSubscribe function that is currently empty:
Import vexor, VexorSubscriptionResponse and useTransition hook
The useTransition hook from react is a good approach to handle the logic and loading state of the purchase.
Complete the handleSubscribe function
Let's complete the handleSubscribe function to create the subscription and redirect the user to the payment page. As you can see, we need to use isPending and startTransition from the useTransition hook to handle the loading state and the subscription logic.
And also let's make the button disabled when the purchase is pending and show a loading message:
The vexor.subscribe.stripe function is used to create the subscription. You can use any other provider by calling the appropriate function, for example vexor.subscribe.mercadopago or vexor.subscribe.paypal. Or the generic vexor.subscribe method. You can read more about the subscribe methods here.
We use stripe as the payment provider in this guide, but you can use any other provider. Just make sure to complete the provider credentials in your Vexor project.
That's it! Your subscription-card.tsx file should now look like this:
Test the subscription
Run your app locally and test subscribing to a plan by clicking the "Subscribe" button. You should be redirected to the payment page for the subscription.
Congratulations! 🎉
You have now a basic subscription working. You can extend this logic to more complex scenarios.
Is this all we need? Yes and no. We have a working subscription, the user can now subscribe to a plan and we get the recurring payments after the subscription, but we don't have a way to know if the subscription was successful or not. There are two more things that we recommend you to do:
-
Create the success and failure pages. Define the redirect urls in the subscription body and build the pages you want to redirect to. You can read more about redirect urls here.
-
Add a webhook (Yes, this is important 🫡) to your project to know when the subscription is successful or not. Also this webhook will be triggered when the subscription is created, updated, renewed or cancelled. You can read more about webhooks here.
Here you have a video showing the complete process we have done in the last steps of this guide to build the UI of the checkout:
👀 Example videos of the complete process may be outdated and you may find slight differences in the syntax, don't worry, the logic is the same... but now it's better 🚀 We'll update the videos soon.
NOTE: Check the docs of the provider you are using to know more about test cards. In our example we are using Stripe, you can read more about Stripe test cards here.