Refunds
Refunds allow you to return the funds to the user in different scenarios. This guide will walk you through creating a basic refund system using Vexor.
Setup
If you've come this far, you already have a good foundation! This guide assumes you have:
- A working Vexor project
- Experience with either one-time payments or subscriptions
- Completed the checkouts guide or subscriptions guide
- Set up webhooks following our webhooks guide
(Required for tracking the identifier which we are going to use to process the refund ⚠️)
If you're new to Vexor, we recommend completing the previously mentioned guides first. They provide step-by-step instructions for:
- Creating your Vexor dashboard project
- Setting up your API Keys
- Initializing your project with the Vexor SDK
- Configuring access tokens
- Configuring and managing Secret Keys, Access Tokens, Client IDs, Webhook Secrets, and more for various providers
- Setting up your environment variables
Each guide includes helpful video tutorials to walk you through the process.
Let's code 🚀
Create the app
In this example we will implement Vexor refunds in one of the previous examples. We are going to clone the app we created in the Checkouts Guide but the same logic can be applied to any other application.
- Clone the
webhooksbranch of the checkout repo:
This branch includes the webhooks logic already implemented, we are going to use it to track the identifier.
- Once you have cloned the repo, open it on your code editor and install the dependencies:
Create a server action to handle refunds
Refunds are supposed to be handled in the server side. Why? Because refunds are sensitive financial operations that need Vexor's secret key. You don't want to expose your secret key in the client side.
In fact, as we are exporting vexor from @/lib/vexor file, we can use it in the server side without any problem. If you try to use it in the client side, you will get an error because the secret key environment variable VEXOR_SECRET_KEY is not available in the client side.
We are going to create a server action in the Next.js app. If you are using another framework, you can use the appropriate folder structure. Even in Next.js you can also use api routes to handle refunds if you prefer. In this guide, we are going to use server actions for simplicity.
-
Create a folder named
/actionsinside the/srcfolder. Remember that we are following the Next.js convention for the folder structure, if you are using another framework, you can use the appropriate folder structure. -
Inside the
/actionsfolder, create a file namedrefund.ts. -
Let's complete the
refund.tsfile with the following code:
Let's build a simple component for the refund
Create a file named refund-card.tsx inside a src/components folder and add the following code:
We have used a form to submit the identifier, we are doing it for simplicity and demonstration purposes. In production you should create a more robust logic to handle the refund.
Import the component in the page
Go to the main page.tsx file and import the PortalCard component:
Then add the RefundCard component to the page, you can do it anywhere in the page. In this example we will add it below the ProductCard component.
Your page.tsx file should look like this:
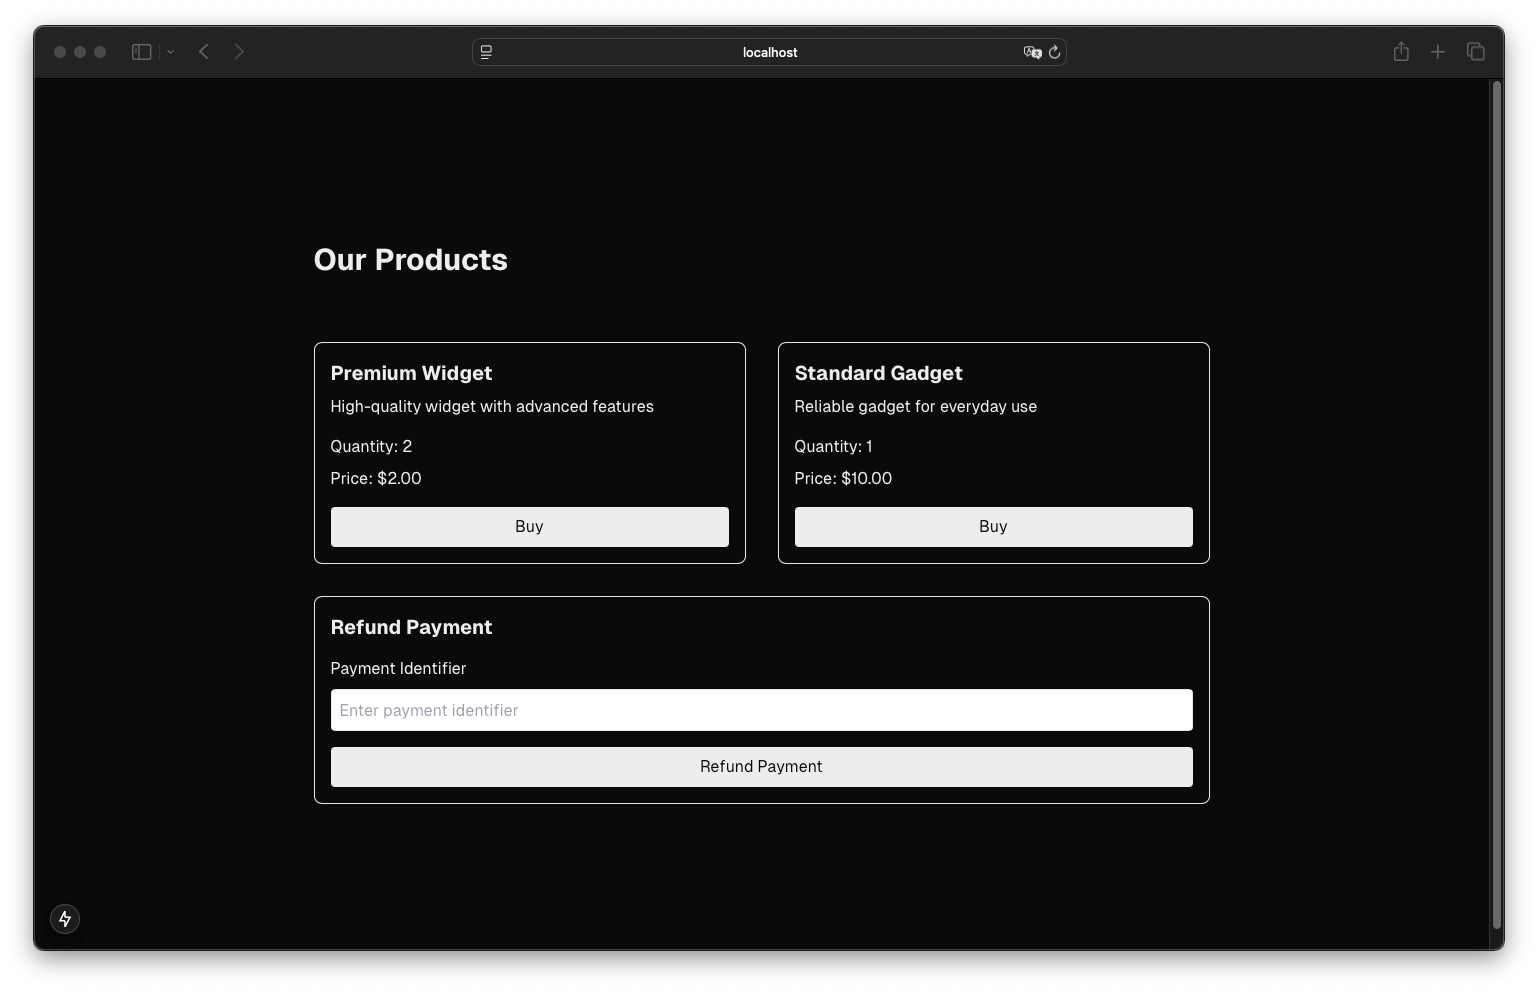
If you run the project now with npm run dev, you will see the RefundCard component with a button to process the refund. You should see something like this:

Test the subscription
- Run your app locally and test a purchase by clicking the "Buy" button. You should be redirected to the payment page for the purchase.
- Complete the payment and you should see the webhook response in the console where you ran your app.
We assume you have completed the webhooks guide and you have the webhook logic already implemented and working for the purchase.
- Now you can test the refund by entering the identifier in the refund card and clicking the "Refund Payment" button. You should see the refund response in the console.
Congratulations! 🎉
You have implemented a basic refund system. You can extend this logic to more complex scenarios. The good thing about this is that you don't need to worry about the platform specific parameters, we take care of that. You just need to provide the identifier and we will handle the rest. Easy, right? 🤓